Before I get started showing how I make the reel seat locking nut, as promised here is a picture of the finished reel seat inserts from
Step 1 of this series of posts.
 |
| The two reel seat inserts built in Step 1 of this Series after 4 coats of Tru-Oil and hand polish |
I should point out that you can click on any of the pictures to see the full size image.
Now that the inserts are done and ready to go, I need to start working on the hardware. The first piece that I build is the locking nut. I do this so that when I make the threaded barrel in the next step, I can insure a good fit between the threads.
I machine all of my reel seat hardware from aerospace grade stainless steel. Many massed produced reel seats are made from aluminum and plated. I use stainless steel because it is tougher, more corrosion resistant, and polishes up better. I start with a piece of 7/8 inch diameter stainless steel.
 |
7/8 diameter stainless steel is the raw material
|
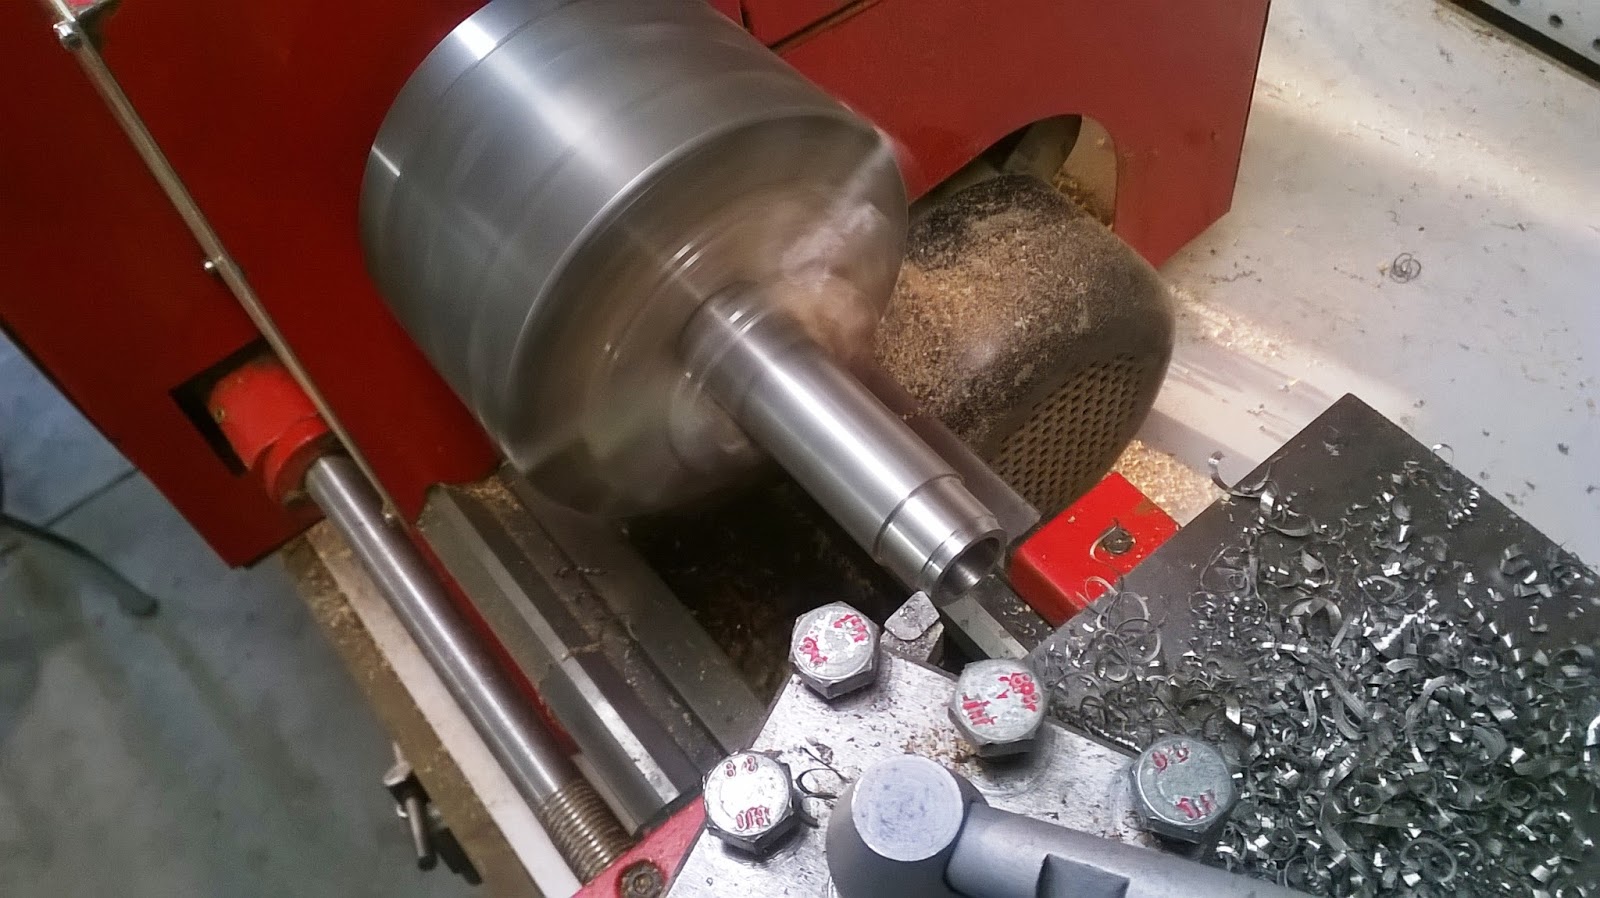
The first step is to face turn the end to eliminate the saw cut marks and ensure that I am starting with a square surface. Next I turn the overall outside diameter to size.
 |
| Face turning the end |
 |
| Turning the outside diameter to size |
After I have turned the outside diameter to size, far enough back on the bar for however many lock rings I am making, in this case 2, the next step is to drill the center to the proper size for tapping the threads.
 |
Drilling the center to to proper size for tapping the threads
|
Once drilled, I turn the step diameter, saw the ring off the bar, turn it around in the chuck and face turn the other side to establish the overall length of the locking ring.
 |
| Turning the step |
 |
| Face turning to length |
 |
| Sawing the part off the bar |
Now the locking ring is ready to have the threads tapped. I do this by chucking the part in the lathe, and running at a slow speed, I feed the tap into the part far enough to create good threads, then reverse the direction the lathe is turning and feed the tap out.
 |
| Power feeding the tap to create the internal threads |
Once the rings are tapped, I thread them onto a mandrel and create the groove pattern on the outer diameter to allow for gripping when tightening the reel onto the rod. This process is known as knurling.
 |
| After knurling |
 |
| Setup for knurling |
The picture below shows the locking rings ready for the final polish step.
Using a very similar process for final sanding the wood, I start with 120 grit sand paper and work my way up to 1500 for a beautiful polished finish. All of my hardware is polished to this level.
 |
| I start polishing with 120 grit sand paper |
 |
| I work my way through multiple grits, finishing at 1500 |
 |
| 2 polished, ready to go locking rings made from aerospace grade stainless steel |
If you missed the previous step where I made the reel seat inserts, you can view it
here.
The next step in this series is to make the threaded barrels for the reel seat, I hope to post that process next week if I get it done. The weekend is coming and the fishing conditions will determine whether I am on the river or in the shop.
I hope you enjoyed this step in the series and will continue joining me in the shop as I go through the entire process of building a custom fly rod. Feel free to ask any questions or make comments below, and share this with anyone you think might be interested.
Until Next Time,
Karl
KB2 Custom Fly Rods


No comments:
Post a Comment